Reconditioning Old Batteries at Home: A Comprehensive Guide
In today's world, where sustainability and cost-effectiveness are paramount, reconditioning old batteries presents a compelling alternative to outright replacement. While battery reconditioning is not a magic bullet for restoring batteries to their original state, it can extend their lifespan and offer a second lease on life. This guide delves into the process of reconditioning various types of batteries at home, offering a comprehensive approach to this multifaceted endeavor.
Understanding Battery Chemistry and Reconditioning
Before embarking on the reconditioning journey, understanding the fundamental principles of battery chemistry is crucial. Batteries store energy through chemical reactions involving electrodes, electrolytes, and chemical compounds. Over time, these reactions generate byproducts, such as sulfation in lead-acid batteries, leading to decreased capacity and performance. Battery reconditioning aims to reverse these processes, restoring the battery's internal chemistry to a more optimal state.
Types of Batteries Suitable for Reconditioning
Not all batteries are created equal, and not all types are suitable for reconditioning at home. Batteries commonly reconditioned include:
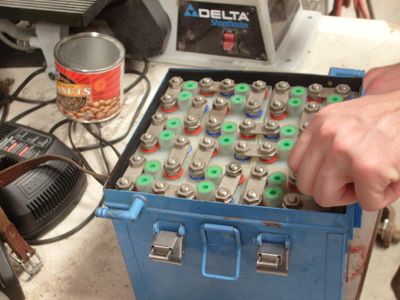
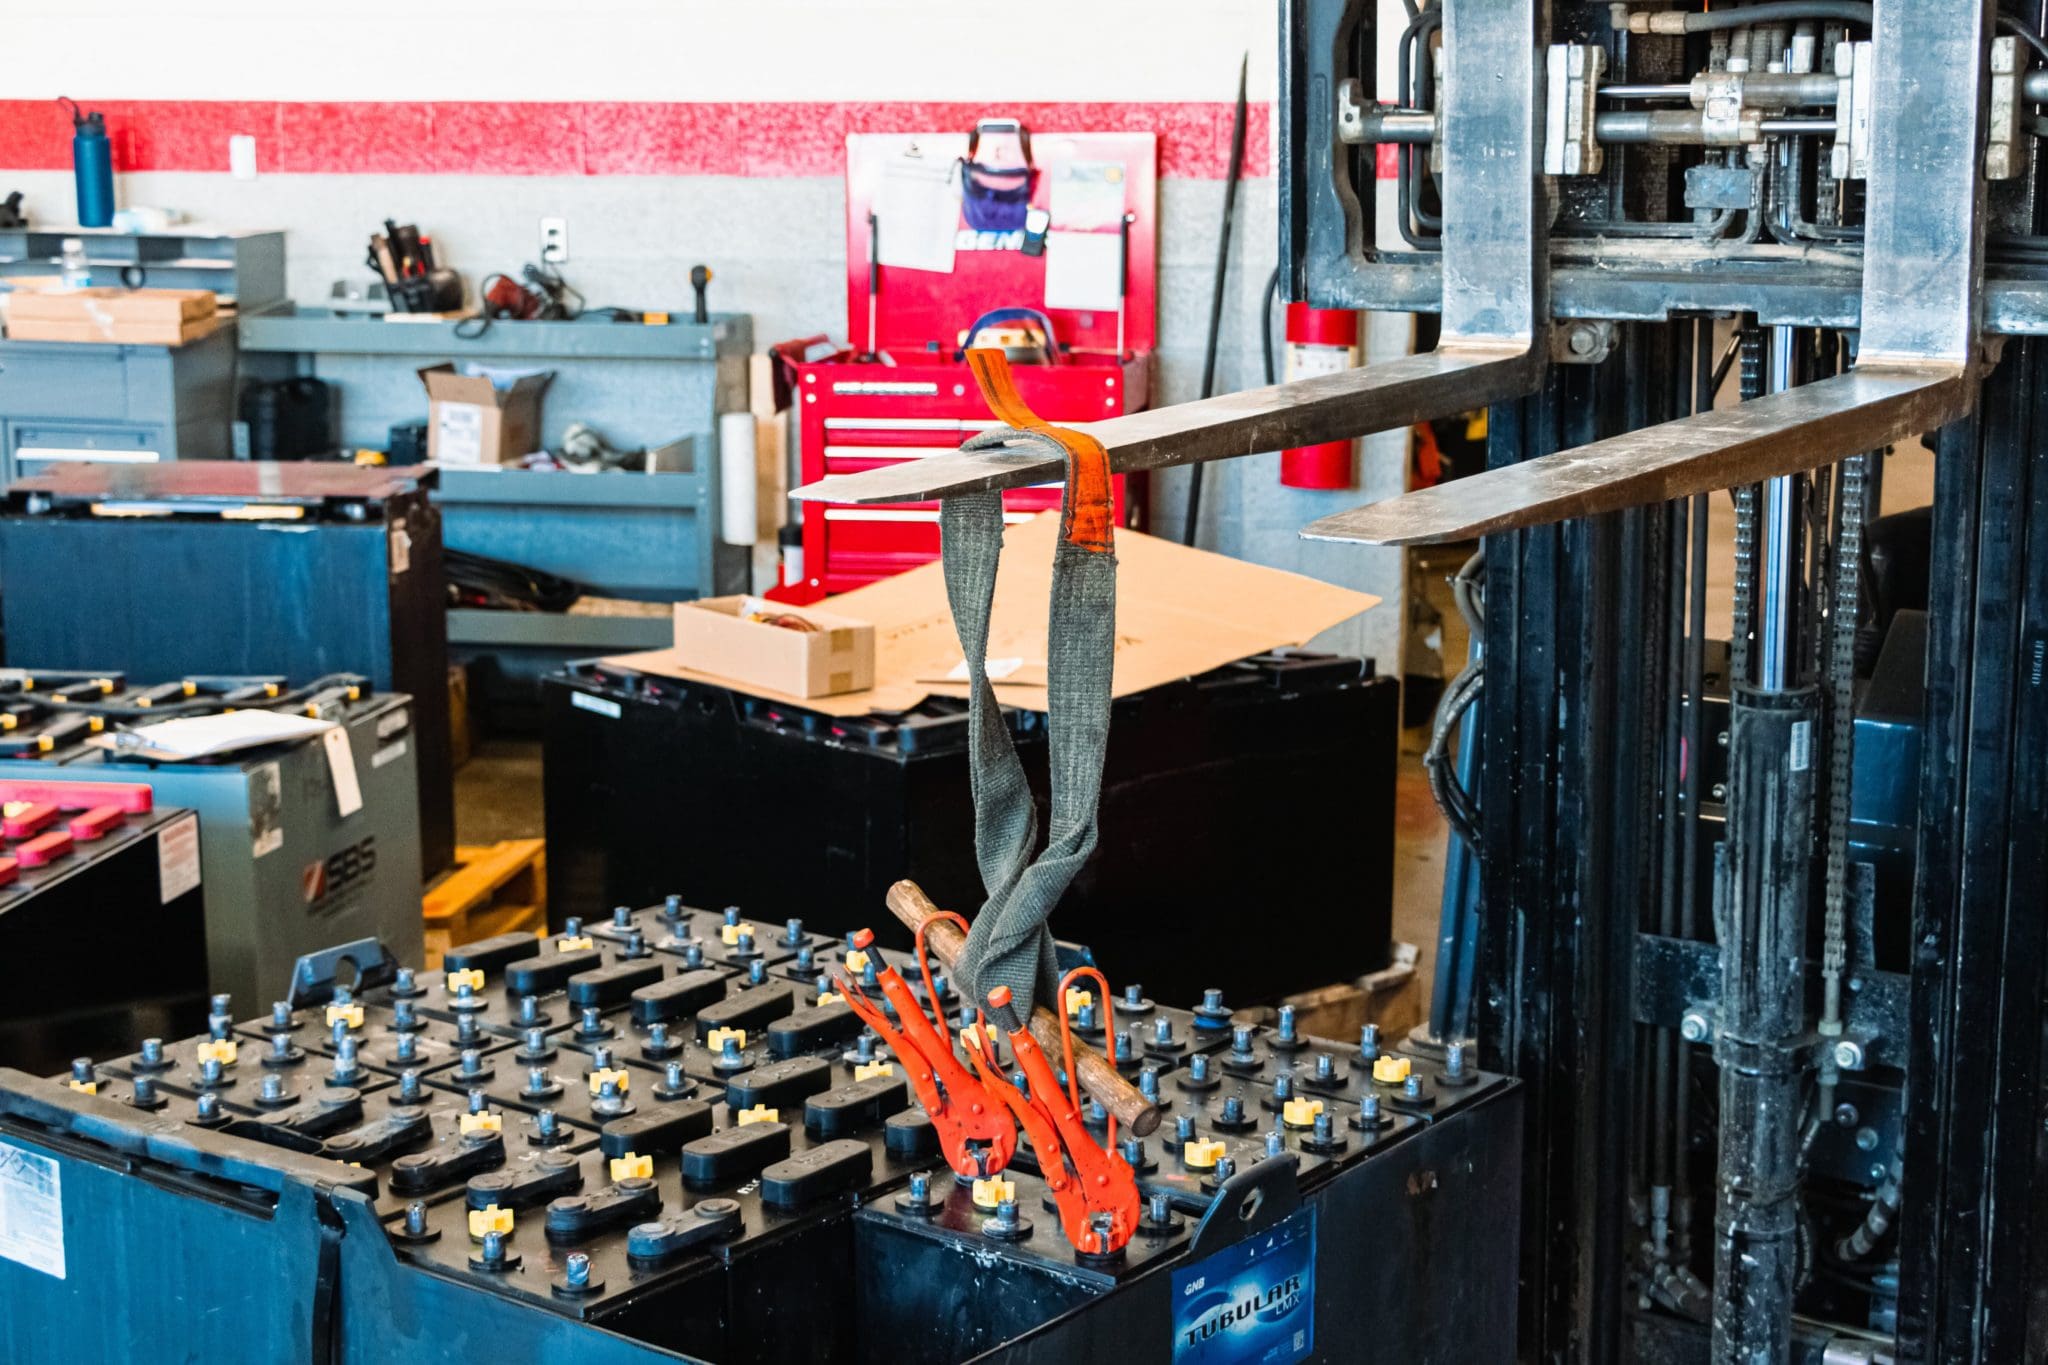
- Lead-acid batteries (car batteries, deep-cycle batteries): These are the most common type of battery suitable for reconditioning. They are relatively simple in construction and have well-established reconditioning techniques.
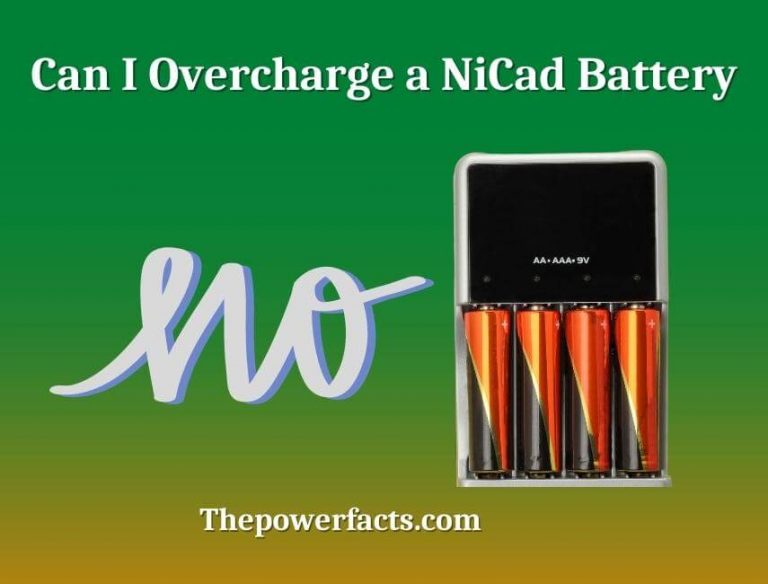
- Nickel-cadmium (Ni-Cd) batteries: These rechargeable batteries were once widely used in power tools and electronics. While their use has declined due to environmental concerns, they can be reconditioned using specialized methods.
- Lithium-ion (Li-ion) batteries: These batteries are commonly found in laptops, cell phones, and electric vehicles. Reconditioning Li-ion batteries is more complex and involves specialized techniques that may not be feasible at home.
Safety Precautions
Battery reconditioning involves working with potentially hazardous materials. It's essential to take necessary safety precautions to avoid injuries and damage:
- Always wear eye protection and gloves to protect yourself from spills and fumes.
- Work in a well-ventilated area to avoid inhaling hazardous gases.
- Never attempt to recondition damaged or leaking batteries, as they may pose a fire or explosion hazard.
- Keep batteries away from heat sources and flammable materials.
Reconditioning Lead-Acid Batteries: A Step-by-Step Guide
Lead-acid batteries are among the easiest types of batteries to recondition at home. This section outlines a comprehensive process for restoring these batteries to their former glory.
Step 1: Preliminary Inspection and Preparation
- Visual Inspection: Examine the battery for signs of damage, such as cracks, leaks, or corrosion. If any damage is present, it's best to discard the battery.
- Check the Battery Terminal Connections: Ensure the terminals are clean and tight to prevent corrosion. Remove any corrosion with a wire brush or baking soda paste.
- Hydrometer Test: Use a hydrometer to check the specific gravity of the electrolyte in each cell. The specific gravity should be within the manufacturer's specifications for a fully charged battery.
- Charge the Battery: Before reconditioning, charge the battery using a suitable charger. This will help to remove any residual sulfation and prepare the battery for the reconditioning process.
Step 2: Desulfation Using a Battery Desulfator
Desulfation is the process of removing sulfate crystals that build up on the lead plates, reducing the battery's capacity. Battery desulfators are devices that send pulsed electrical currents to the battery, helping to break down the sulfation.
- Select a Desulfator: There are various battery desulfators available in the market. Choose a desulfator compatible with the battery's voltage and capacity.
- Connect the Desulfator: Carefully connect the desulfator to the battery terminals, ensuring proper polarity.
- Follow the Manufacturer's Instructions: The desulfation process typically lasts several hours or even days, depending on the battery's condition and the desulfator's settings.
Step 3: Equalization Charge
After desulfation, an equalization charge helps to balance the electrolyte levels and ensure that all cells are charged to their maximum capacity. This step involves charging the battery at a high current for an extended period (typically 12-24 hours).
- Connect the Charger: Use a battery charger with an equalization mode setting.
- Follow the Charger's Instructions: Set the charger to the equalization mode and follow the manufacturer's recommendations for charging time.
- Monitor the Battery: During the equalization charge, monitor the battery temperature and voltage to ensure it does not overheat.
Step 4: Re-Hydration and Maintenance
In some cases, the battery may require re-hydration to replenish the electrolyte levels.
- Check the Electrolyte Level: Inspect the electrolyte level in each cell. If the electrolyte level is low, add distilled water to bring it up to the appropriate level.
- Maintenance Charge: After re-hydrating, give the battery a regular maintenance charge to keep it in optimal condition.
Reconditioning Nickel-Cadmium Batteries: A Specialized Approach
Reconditioning Ni-Cd batteries involves a slightly different process compared to lead-acid batteries. Here's a general approach:
Step 1: Deep Discharge
Start by fully discharging the Ni-Cd battery. This step removes any built-up memory effect, a phenomenon that can reduce battery capacity.
- Connect a Load: Attach a suitable load to the battery, such as a light bulb, to discharge it completely.
- Monitor the Discharge: Monitor the battery voltage until it drops to the minimum voltage specified by the manufacturer.
Step 2: Recharging
After deep discharge, recharge the battery using a slow charger designed for Ni-Cd batteries.
- Connect the Charger: Connect the charger to the battery terminals, ensuring correct polarity.
- Follow the Charger's Instructions: Charge the battery at a low current for an extended period (typically 12-16 hours) to maximize its capacity.
Step 3: Repeat Discharge and Charge Cycles
Repeat the discharge and recharge cycles several times to break down any remaining memory effect and improve the battery's performance.
Important Considerations
Reconditioning batteries is a multifaceted process, and not all batteries can be successfully reconditioned. Several factors influence the outcome of reconditioning:
- Battery Age: Batteries that have been heavily sulfated or have been exposed to extreme temperatures may be beyond reconditioning.
- Battery Condition: Batteries with physical damage, such as cracks or leaks, should be discarded.
- Battery Chemistry: Some batteries, such as lithium-ion batteries, are not easily reconditioned at home.
Safety and Disposal
Always handle batteries with care and dispose of them responsibly.
- Battery Safety: Never attempt to recondition damaged or leaking batteries.
- Battery Disposal: Dispose of batteries according to local regulations. Do not throw them in regular garbage, as they can pose environmental hazards.
Reconditioning old batteries at home offers a sustainable approach to prolonging their life and reducing waste. By carefully following the steps outlined in this guide and taking appropriate safety precautions, you can give your batteries a second chance and save money in the process.